In Salesforce, a Flow is a tool that allows you to automate business processes by building a series of steps, called elements, which can be triggered by various events, such as the creation of a record or a change to a field value. In a List View, a Flow can be triggered to run on a set of records that are displayed in the view.
For example, suppose you have a List View that displays a set of accounts that are overdue on their payments. You could create a Flow that sends an email reminder to the account owner, updating a field on the account record to indicate that the reminder has been sent.
To use a Salesforce Flow in a List View, you would first create the Flow and then add it to the ListView as a List Button or a List Link. When a user clicks the button or link, the Flow will be triggered to run on the set of records displayed in the view.
You can also use a Salesforce Flow in a List View to update multiple records at once, by using a Fast Update element. This allows you to quickly make changes to multiple records without having to edit them individually.
Learn more about Salesforce Flow Bootcamp
Why use Salesforce Flow in the List view?
- To automate repetitive tasks: Flows can be used to automate tasks that are repetitive or time-consuming, such as updating a field on a large number of records or creating new records based on specific criteria.
- To streamline data entry: Flows can be used to guide users through a series of steps when creating or updating records, helping to ensure that all required fields are filled out and reducing the risk of errors.
- To improve the user experience: Flows can be used to create custom user interfaces that are tailored to specific business processes, making it easier for users to complete tasks and access the information they need.
- To trigger actions based on specific criteria: Flows can be triggered to run automatically when certain criteria are met, such as when a record is created or updated, allowing you to automate processes and respond to events in real-time.
What is List View in Salesforce?
In Salesforce, a list view is a way to view and interact with a list of records in an object, such as accounts, contacts, or opportunities. It allows users to filter and sort the list of records based on specific criteria, and to perform actions on the records in the list, such as deleting or exporting them.
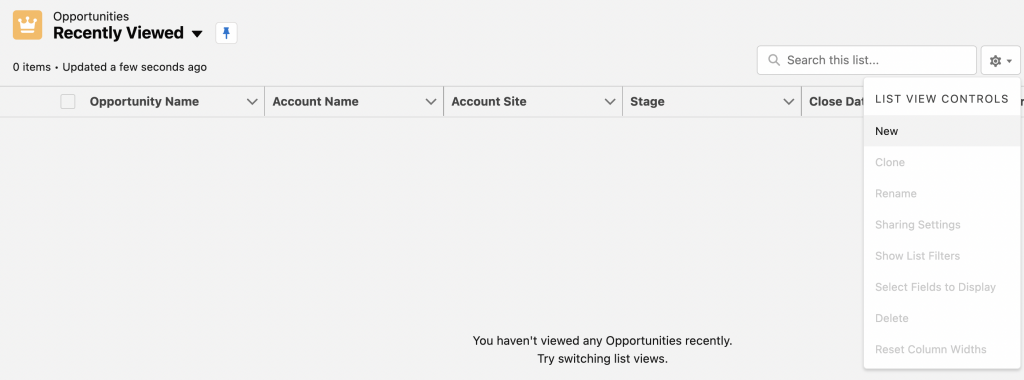
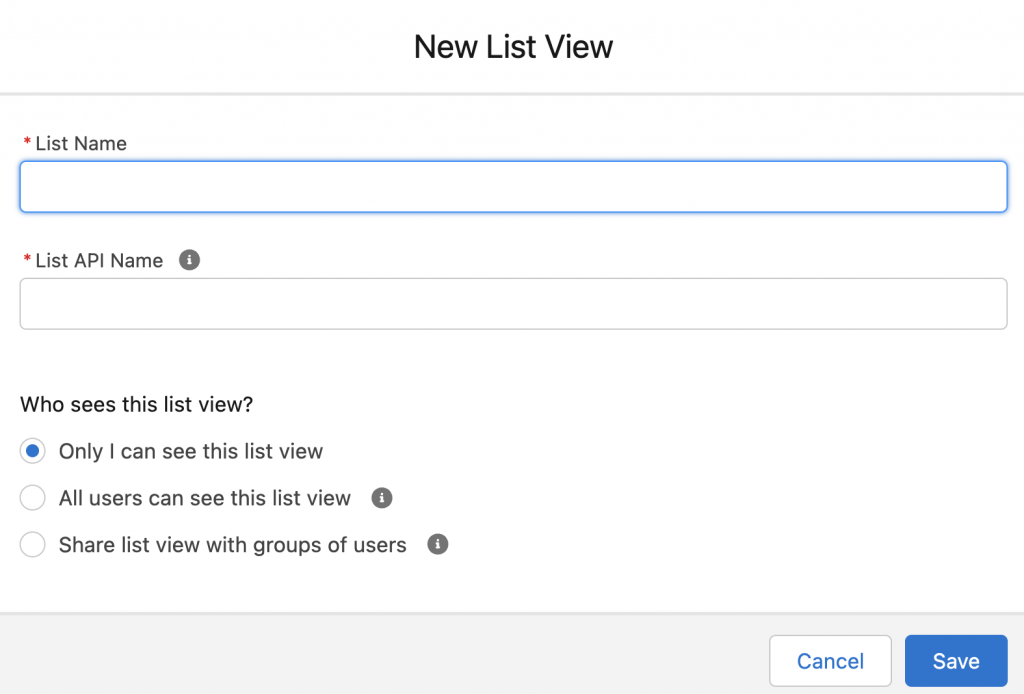
To create a new list view in Salesforce, follow these steps:
- Navigate to the object for which you want to create the list view.
- Click the “Create New View” button.

- Enter a name for the list view and select the fields you want to include in the view.

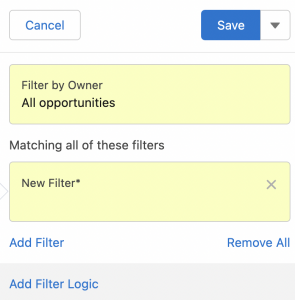
- Choose any filter criteria you want to apply to the view.

- Optionally, choose a sort order for the view.
- Click “Save” to create the list view.
Register for Salesforce Flow Bootcamp
To learn more about list view check this official help Article
You can then access the list view by clicking on its name in the list of views for the object. You can also edit or delete the view by clicking on the “Edit” or “Delete” buttons next to the view name.
I created a video where I’m showcasing a use case on how to use salesforce flow in list view , must check it out at the link in the comment section


What a great video and topic – well done.
A small question but given the the “close cases button” is on “many list” views, if you hard code the return url of the flow back to the “open cases” list view … it might not be the list view that the user actually started on or launched the button from. Is there a way to return to the ‘same’ or ‘last’ list view that the user clicked the button from (ie, to make it more dynamic and less hard coded).