


In today’s fast-moving digital landscape, businesses need tools that are not only efficient but also intuitive to keep up with evolving demands.
Jotform, trusted by over 20 million users worldwide, delivers exactly that with its powerful forms and no-code solutions—tailored to the needs of both small businesses and large enterprises.
In this blog, we will discuss the five brand-new features designed to take your Salesforce + Jotform experience to the next level. These updates will help you save time and make the most of your platform.
Before diving into the latest Jotform features for Salesforce, make sure you’ve got the Jotform app installed in your Salesforce org.
To get started, head over to the Salesforce AppExchange and search for “Jotform”.

Click the “Get It Now” button to install the app for free in your Salesforce instance.
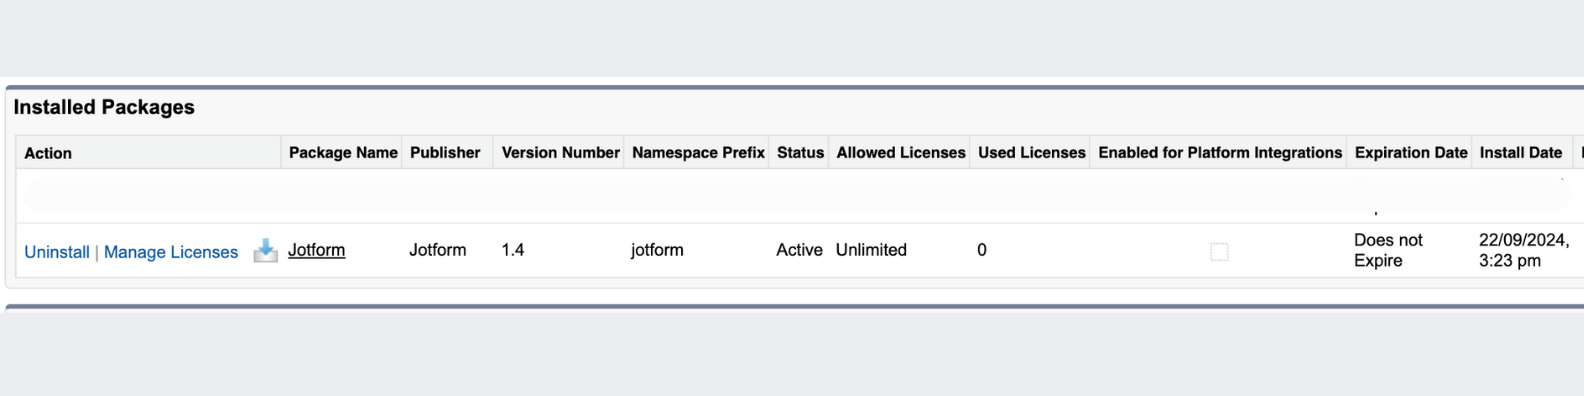
Once it’s installed, you’ll find it listed under the “Installed Packages” section in Salesforce, and you’re all set to explore the new features.
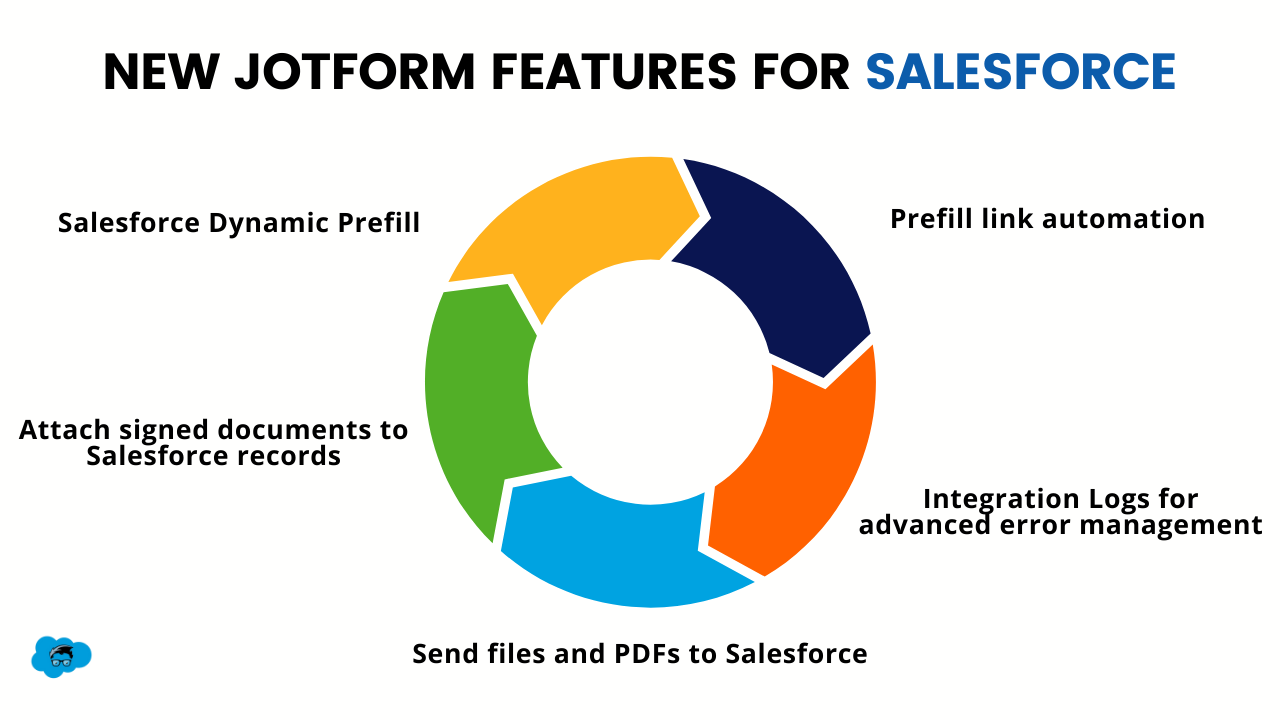
The following are the newly introduced Jotform features for Salesforce:
1. Salesforce Dynamic Prefill
Jotform has made significant enhancements to its Salesforce prefill functionality with the introduction of the Salesforce Dynamic Prefill feature. This new capability allows form fields to be populated in real-time by dynamically retrieving data from multiple Salesforce records, without limitations.
The advantages of real-time, dynamic prefill are many. It removes the need for manually generating individual prefill links and ensures that forms are always populated with the most current and accurate Salesforce data. Additionally, Salesforce Dynamic Prefill supports all Salesforce objects, including custom objects.
These updates streamline form creation and enhance the overall experience for both end-users and administrators, delivering a more seamless and efficient workflow.
In the Jotform tab, click the “Create Form” button to build a new form for this example and select “Create Salesforce Form”.

We’ll select the Contact object for this example, and from there, you can choose which fields you’d like Jotform to include in your form.

Once you’ve selected the fields, simply click the “Create Form” button to generate the form.

To set up Salesforce Dynamic Prefill, head over to the “Publish” tab, select “Prefill” from the left-hand panel and then click on Salesforce Dynamic Prefill.

We’ll use the Contact object for the lookup. As you can see, the lookup filter allows us to set multiple conditions, helping us accurately pinpoint the Salesforce record we’re trying to retrieve.
It is highly recommended to use multiple filters to increase the security of your form.
Salesforce Dynamic Prefill analyzes form fields in real-time as respondents fill out the form. Simultaneously, lookup filters query your Salesforce database.
When the filter criteria are met, data from the matching Salesforce record is automatically prefilled into the form.

For instance, if you select Contact as your lookup object and set Mailing Street and Email as your lookup filters, Salesforce data will only be prefilled when the form respondent enters a Mailing Street and Email that match a contact in your Salesforce database.
Additionally, you can decide how to manage duplicate records, with options to either prefill the most recent record or skip the prefill entirely.
As you scroll down, you’ll notice that the Salesforce Contact fields are already mapped to the Contact form in Jotform. Simply click “Save” to complete your Salesforce Dynamic Prefill form setup.

Now, let’s select a Contact record from our Salesforce org. For this example, we’ll use a record with the email help@salesforcegeek.com.
To test the functionality click on the Publish tab and then Open in New Tab button.

When we input this email into the Salesforce Contact form, you’ll see the remaining fields automatically populate with the corresponding data.

Since the Jotform form is directly connected to Salesforce, it captures live data. If you make any updates to the Contact record in Salesforce, those changes will be automatically reflected in the prefilled values on the form.
After setting up your Salesforce integration for dynamic form data prefill, you can take the form experience to the next level by creating personalized links for your users.
These links direct them to forms that are already prefilled with basic data from their Salesforce record.
To use this feature, navigate to the Salesforce Prefill section in the Form Builder, select “Personalized Links” and click on “Create New Links”.
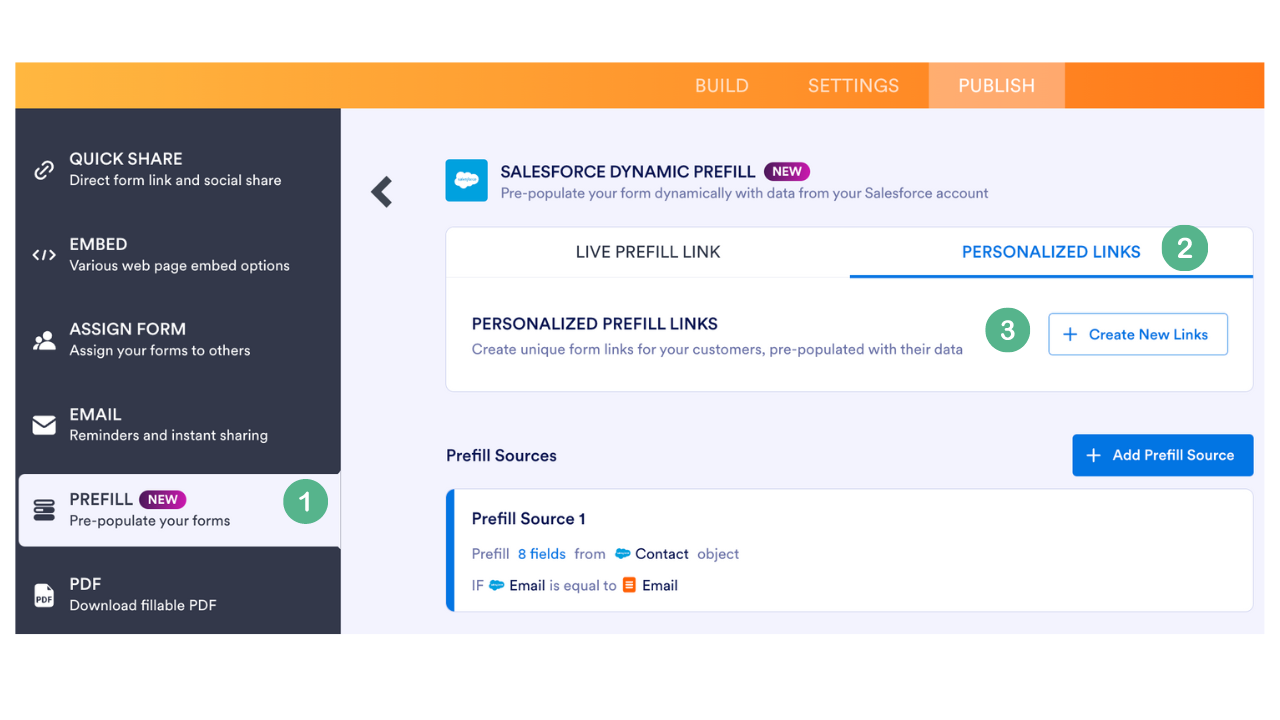
Choose the contacts for whom you want to create unique links, then click the “Create” button at the bottom right.

Are you curious to dive deeper into these features? Explore all the details below👇
2. Prefill Link Automation
This feature is incredibly useful if you want to create custom links, and buttons or improve email automation within Salesforce. We can achieve this by querying parameters and utilizing Salesforce merge fields.
Let’s dive in and explore how Prefill Link Automation works in detail.
Go to the forms you’ve already created, click “Edit Form” and then navigate to the “Publish” tab. On the left panel, select the “Prefill” option and choose “Salesforce Dynamic Prefill”.

One way to customize the URL is by adding parameters at the end. For example, we add email as the parameter to our Jotform form URL.
URL = https://form.jotform.com/242653160280046?email=help@salesforcegeek.com
Another way to leverage Jotform’s Prefill Link Automation with Salesforce is when, for example, a new employee joins your organization, and you want to send them an email with a customized survey link that’s already prefilled with their details.
To share this personalized prefill link, you can customize a Salesforce email template and send it through Salesforce Flows.
3. View Integration Logs for advanced error management
If you want to test or troubleshoot your workflow, you can use the Salesforce Integration Log. It helps identify issues like field mismatches or provides confirmation that everything is running smoothly.
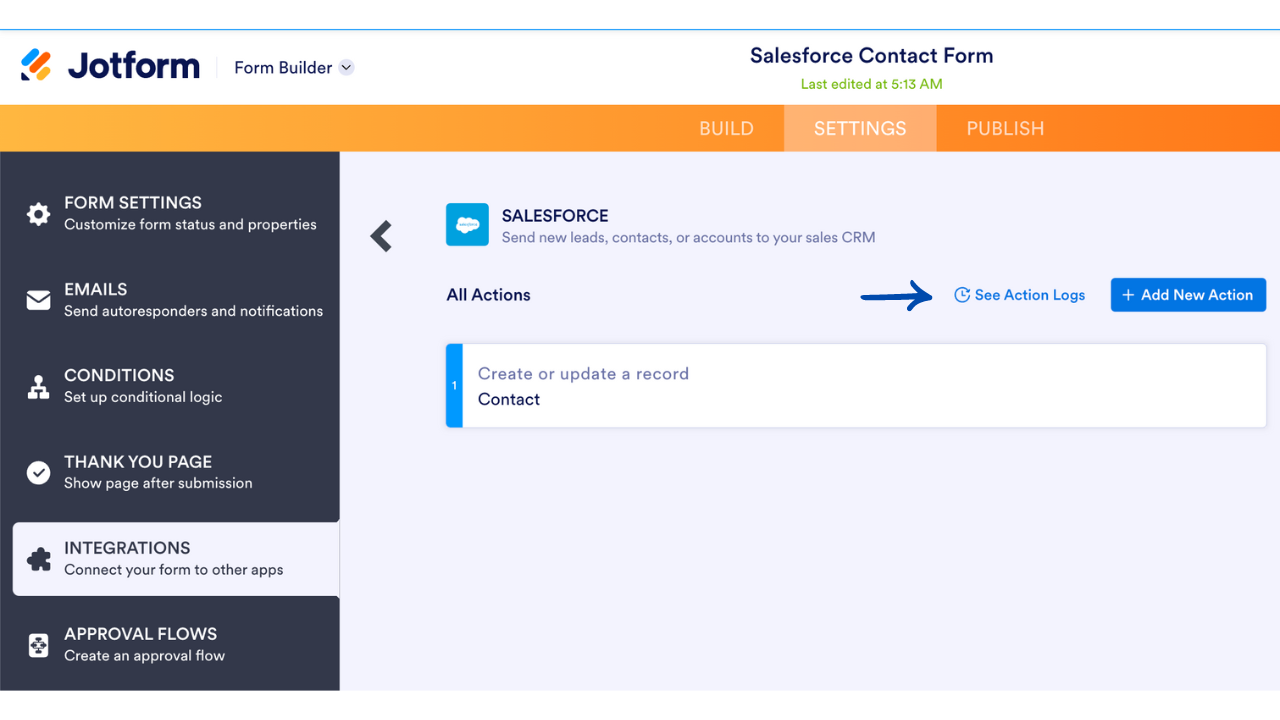
In Jotform’s Form Builder, navigate to the “Settings” tab and click “Integrations” on the left panel. Your Salesforce integration should appear at the top with a green checkmark. Select it, then click on the “See Action Logs” option.
The logs monitor any errors in the data flow from Jotform to Salesforce, covering submission data, file uploads, and e-signature documents. You’ll also receive a daily email summary highlighting any issues.
Note that the logs only show errors from the last 30 days, and any older issues will no longer be accessible.
4. Send file uploads and submission PDFs to Salesforce
Want to send file attachments and submission PDFs directly to your Salesforce Contacts? With Jotform’s latest integration feature, you can now effortlessly organize and access all your form-related documents within Salesforce.
To enable this automation, navigate to the Form Builder, click on the “Settings” tab and go to “Integrations” Scroll down to the Attachments section and toggle on the option to send both file uploads and submission PDFs as attachments to the Salesforce record.

Once enabled, you’ll find these files in the Notes & Attachments section of the associated record.
Using the file upload field in a Salesforce-integrated form streamlines your workflow by automatically filing all relevant documents in the right place. This eliminates the hassle of emailing files back and forth, reducing the risk of missed communications and maintaining file quality.
5. Attach Jotform Sign documents to Salesforce records
What if you could store and manage signed documents directly in your Salesforce org? If you’re working with signed documents and need a way to store them in the appropriate Salesforce record, Jotform now makes this possible.
Let’s walk through how you can do this with Jotform’s new feature:
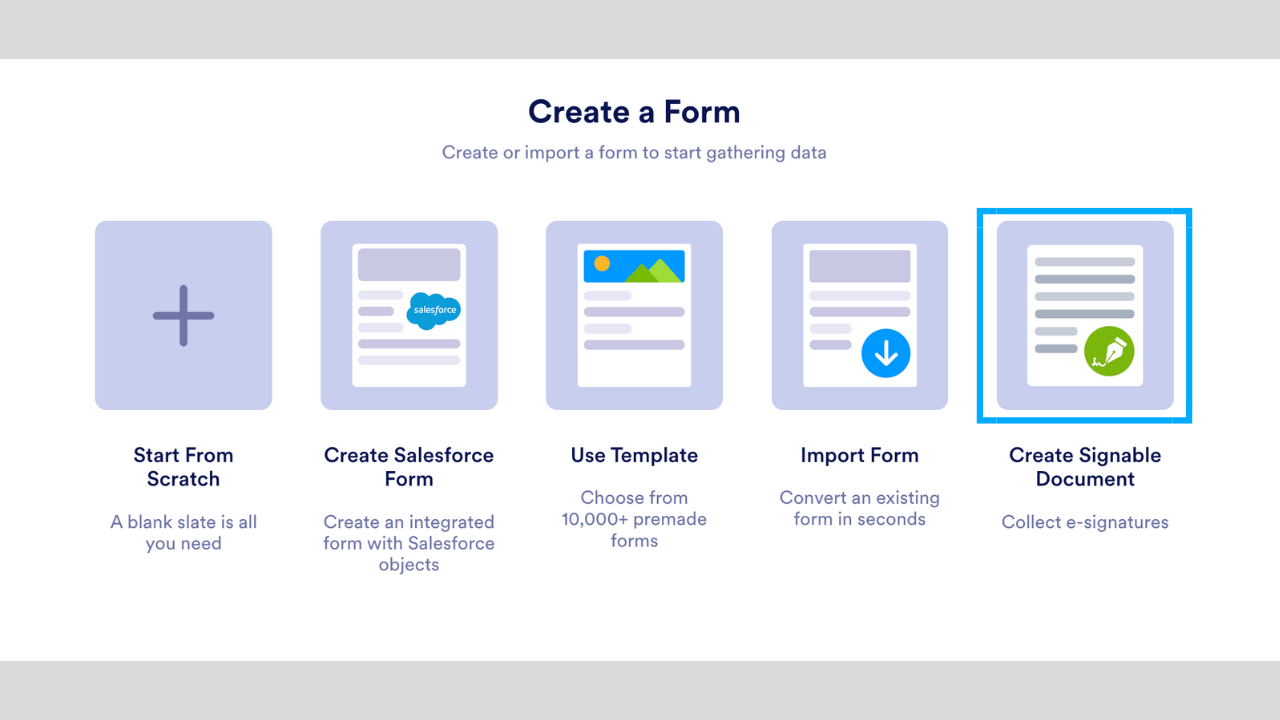
From your Salesforce org’s Jotform Dashboard, click on the “Create Form” button and select “Create Signable Document”
For this example, choose an existing document template and click the “Use Template” button. On the sample template, you’ll notice various fields that can be mapped to your Salesforce record fields.
Next, from the Jotform Sign Builder, go to the “Settings” tab and select “Integrations” from the menu on the left.
Set up your Salesforce integration by specifying whether you want to create or update a record, and choose the Salesforce object where the signed files will be stored.

Set up your Salesforce integration by deciding whether you want to create a new record or update an existing one, and then select the Salesforce object where your signed documents will be stored.

At the bottom of the configuration screen, turn on the “Attachments” option and choose whether to send the signed document with or without an audit trail.

Now, head over to the “Send” tab to send the signed document.

Once the document is signed, the e-signature data automatically syncs with Salesforce, attaching the signed document to the appropriate record in the Notes & Attachments section.
Keep in mind that if you’re using a server with HIPAA compliance features enabled for your documents, the document owner must set a password. HIPAA-related documents are zipped during transfer to Salesforce, and the password set by the owner will be needed to access them.
Conclusion
Now that you’ve got five powerful new features to enhance your Salesforce integration, start using Jotform for Salesforce today and let us know how it works for you.


