In this blog, we will explore OmniScript in Omnistudio along with its elements and how it works with DataRaptor.
What is OmniScript?
An OmniScript is a business tool and omnichannel customer engagement solution that is built on the Salesforce platform. With OmniScripts, you can create dynamic customer interactions without the need for coding, and they can be deployed across multiple channels and devices. Administrators have the option to define a script once and then deploy it within a Salesforce application or on a webpage.
How OmniScript get Data?
Interaction between Omniscript, DataRaptor and IP
Omnistudio offers the ability to create visual processes using OmniScript, but the question remains: where does the data originate from? This is where Integration Procedures (IPs) play a crucial role. IPs act as intermediaries, retrieving data from various sources. Working alongside IPs are DataRaptors (DRs), which are responsible for manipulating the data. DRs handle tasks such as reading, loading, transforming, and storing information.
They can even fetch data from external APIs or databases. Once all the data has been gathered, it is sent to OmniScript, where it is utilized to guide users through interactive experiences. This enhances workflow efficiency and increases user engagement.
OmniScript Designer – Build Tool
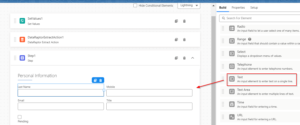
OmniScript Input Elements
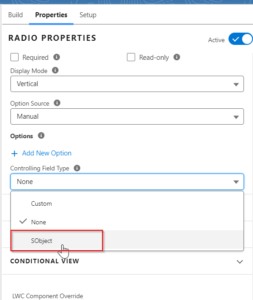
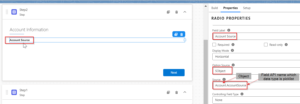
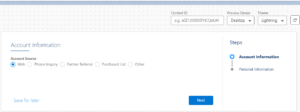
Radio – Radio buttons let users choose one option from a group in your OmniScript. You can customize their settings in the Properties panel.
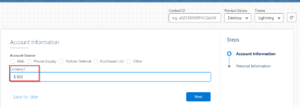
Currency – The currency displayed in your OmniScript depends on your Salesforce organization’s setup. For organizations with a single currency, the default currency will be used. In multi-currency setups, it typically reflects the user’s currency.
Want to Learn Salesforce Flows? Checkout our Salesforce Flow Course
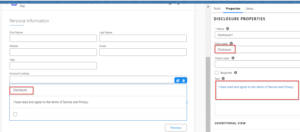
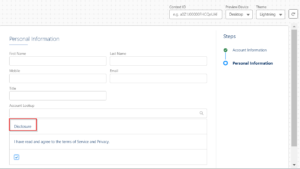
Disclosure – This shows a message to the user and asks them to confirm their agreement with a checkbox.
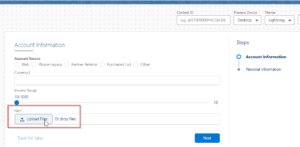
File – The “File” element lets users upload files from their computer directly into your OmniScript.

Filter – A Filter allows users to narrow down those items, like choosing options from a dropdown menu (select filter) or picking multiple options at once (multi-select filter).
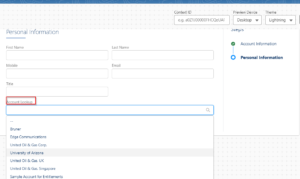
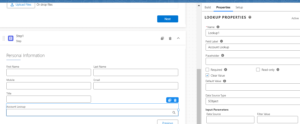
Look up – The Lookup element acts like a search box. It uses DataRaptor to query Salesforce data and display the matching results.

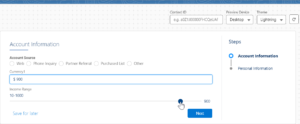
Range – Used for creating sliders or number inputs with a defined minimum and maximum value.

Select –You can create a dropdown menu in your OmniScript for users to choose options. These options can be manually entered, retrieved from a specific Salesforce object, or pulled dynamically using an Apex class and method.


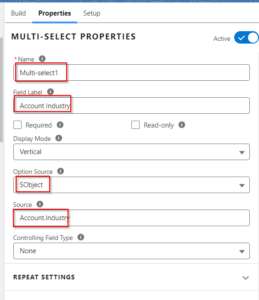
Multi-Select- If you want users to choose from more than one option then, Add the “Multi-Select” element to your OmniScript form. They can pick items displayed in a list, a row, or even as images!

Using DataRaptor in OmniScript
DataRaptors Actions –
We can use all three types of DataRaptors in our OmniScript like DataRaptor Extract Action, DataRaptor Post Action, DataRaptor Transform Action, and DataRaptor Turbo Action for retrieving and loading the data of Salesforce.
Here, I am showing you how we can use DataRaptor Extract Action
- Open the Build tool and select the Actions element,
- Drag and drop DataRaptor Extract Action onto the Canvas
- Click on the “DataRaptor Interface” field. This will display a list of available DataRaptor tools that can extract data. You can either type in the name of the specific DataRaptor you need or browse the list.
Data Source: Each DataRaptor might have specific input parameters that tell it what data to fetch. Look for the “Data Source” fields and fill them in with the information the DataRaptor needs.
Filter Value (Optional): If your DataRaptor allows filtering the data it extracts, you can use the “Filter Value” fields. This is like telling the DataRaptor to only bring back information that matches certain criteria.
Create one DataRaptor

Use the created DataRaptor in Omniscript for fetching data from the Salesforce –

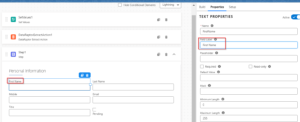


Click on Preview to see the prefill Data by DataRaptor
Also Read – DataRaptors in Omnistudio
FAQs
1. How can we build OmniScript?
To create a new OmniScript, simply click on the Omnistudio in the App launcher, navigate to the OmniScript home page, click “New,” and provide a name, type, sub-type, and language. This combination will define a unique identifier for the compiled version. Once everything is filled in, hit “Save” to get started building your OmniScript.
2. How can we use a Custom Lightning Web Component in our OmniScript?
You can integrate a custom LWC into your OmniScript by adding a “Custom Lightning Web Component” element to your step. This lets you choose your LWC and optionally pass data to it using properties. The LWC itself can interact back with the OmniScript through events or by modifying OmniScript variables using the omniScriptApi object (available in LWC OmniScripts). This helps us to use LWC for specific UI elements or functionalities within your larger OmniScript flow.
Conclusion
This blog post helps us to understand OmniScript, examine its components in the visual builder, and explore its seamless integration with DataRaptor. Additionally, we will discover how to utilize custom Lightning Web Components to enhance the user interface and functionality of OmniScripts.


